To set up your email account in Outlook, follow these general steps. Keep in mind that the exact steps may vary slightly depending on the version of Outlook you’re using and the type of email account you have (e.g., Gmail, Outlook.com, Yahoo, etc.). These instructions are based on Outlook 2016/2019/365:

- Open Outlook: Launch Outlook on your computer.
- Add Account: If this is the first time you’re using Outlook, you’ll be prompted to set up an email account. If you’re not prompted, you can add an account by going to the “File” menu and selecting “Add Account.”
- Auto Account Setup: In the “Add Account” window, enter your email address and click “Connect” or “Next.” Outlook will attempt to configure your email account automatically. If it succeeds, you can skip to step 7. If not, continue to step 4.
- Manual Setup: If automatic configuration fails, you’ll need to set up the account manually. Select the option that says “Manual setup or additional server types” and click “Next.”
- Choose Service: Select the type of email account you have. This will usually be either “POP or IMAP” or “Exchange.” Click “Next” to continue.
- Account Settings: Enter your account details, including your name, Email Account in Outlook address, account type (POP3, IMAP, or Exchange), incoming mail server, outgoing mail server, username, and password. You can get these details from your email provider. Once you’ve entered all the information, click “Next.”
- Test Account Settings: Outlook will now test the settings you entered to ensure everything is configured correctly. If any errors occur, double-check your settings. If everything is successful, click “Finish.”
- Completing Setup: Once the test is successful, click “Close” to complete the setup process. Your email account should now be configured in Outlook, and you should see your inbox populated with your emails.
- Additional Configuration: Depending on your email provider and your preferences, you may want to configure additional settings such Email Account in Outlook as folder synchronization, email signature, automatic replies, etc. You can access these settings by going to the “File” menu, selecting “Options,” and then navigating to the appropriate sections.
That’s it! You’ve successfully set up your email account in Outlook. You can now start sending and receiving emails through Outlook on your computer.
Follow these steps to set up your email account in Outlook:
To set up your email account:
1. Open Outlook.
2. Click File.
3. Click Add Account.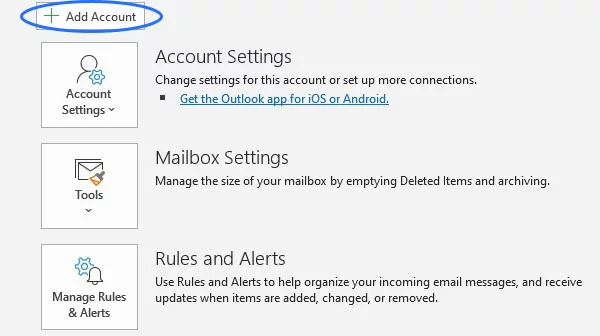
4. Enter the email address you wish to set up then click Connect.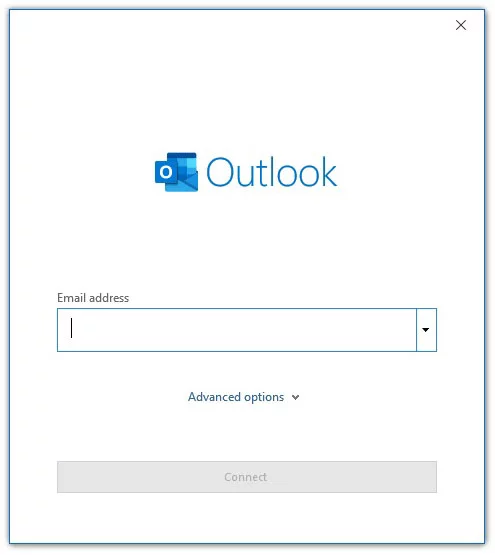
5. Click on the IMAP icon.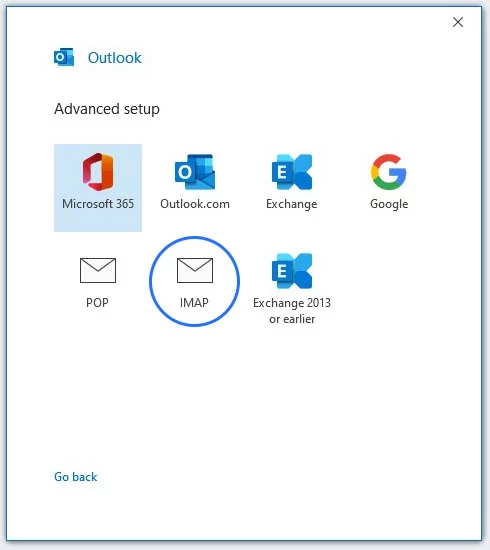
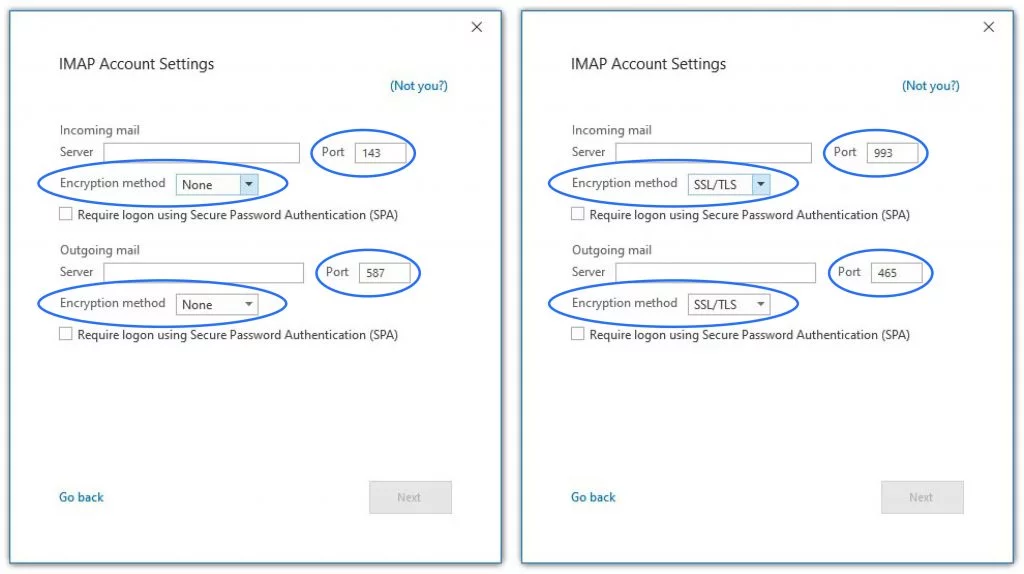
6. Enter the server settings for the email account then click Next.
These settings can be found in your cPanel account.
Log in to your cPanel account > click Emails > click Email Accounts > click Connect Devices.
| Non-SSL/TLS Settings Encryption Method: None Incoming Mail Port: 143 Outgoing Mail Port: 587 | Secure SSL/TLS Settings Encryption Method: SSL/TLS Incoming Mail Port: 993 Outgoing Mail Port: 465 |
7. Enter the password to the email account then click Connect.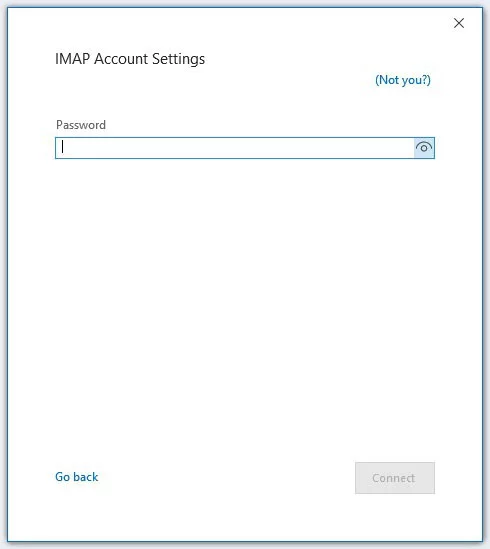
Advantages of Outlook
Microsoft Outlook is a popular email client used by individuals and organizations worldwide. Its advantages include:
- Email Management: Outlook provides robust email management capabilities, including organizing emails into folders, creating rules for automatic email sorting, and advanced search functionalities. This helps users maintain a tidy and efficient inbox.
- Integration with Microsoft Office Suite: Outlook seamlessly integrates with other Microsoft Office applications such as Word, Excel, and PowerPoint. Users can easily share files, schedule meetings, and collaborate on documents within the Outlook interface.
- Calendar and Scheduling: Outlook’s calendar feature allows users to schedule appointments, meetings, and events. It also enables users to view their colleagues’ calendars, making it easier to schedule meetings and coordinate activities.
- Task Management: Outlook includes a task management feature that allows users to create, assign, and track tasks. Tasks can be organized by due date, priority, or category, helping users stay organized and productive.
- Contacts Management: Outlook’s contacts feature enables users to store and manage contact information for colleagues, clients, and other contacts. Users can easily access contact details, schedule meetings, and send emails directly from the contact list.
- Security Features: Outlook includes robust security features to protect users’ email accounts and data. This includes built-in spam filtering, encryption capabilities, and advanced security protocols to prevent unauthorized access to email accounts.
- Mobile Accessibility: Outlook is available as a mobile app for iOS and Android devices, allowing users to access their emails, calendars, and contacts on the go. The mobile app offers many of the same features as the desktop version, providing a seamless user experience across devices.
- Customization Options: Outlook offers a high degree of customization, allowing users to personalize their inbox layout, email signatures, and notification settings according to their preferences.
- Offline Access: Outlook’s offline access feature enables users to access their emails, calendar, and contacts even when they are not connected to the internet. This is particularly useful for users who travel frequently or have unreliable internet connections.
- Collaboration Tools: Outlook includes collaboration tools such as shared calendars, distribution lists, and group email aliases, making it easy for teams to communicate and collaborate effectively.